Dr. Prepper
No. 1

The regular white paper – in this case RED PAPER – from MontiPower®. Full of nice to know – and need to know – facts about the most optimal surface preparation since 1987. Like Dr. Prepper’s motto: the best coatings in the world deserve the best preparation in the world. Dr. Prepper invites specialists, special guests of other professionals in the world of surface preparation for sealants and coatings to talk about surface preparation.


Surface roughness is also known as surface or anchor profile in the coating industry. A sufficient surface profile is required to secure a good adhesion of every coating system and adhesive. Although some mechanical or some chemical bonding coating and sealants do adhere on smooth substrates, a profiled substrate provides a better adhesion and barrier against rustcreep. Many reports from coating experts do confirm this.
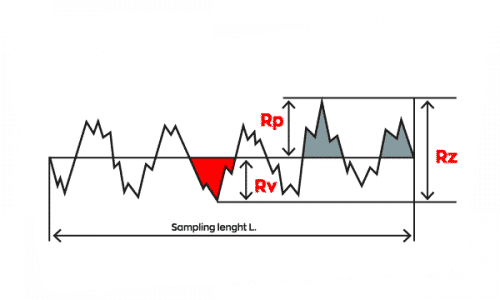


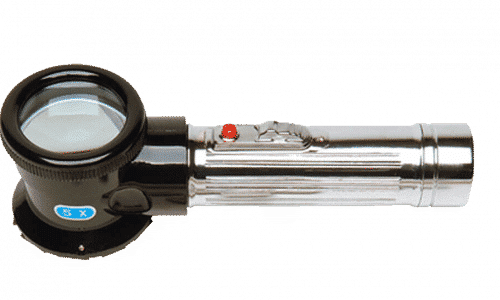
This can be done with Testex Replica Tape, Portable Stylus Gauge, ISO Comparator, KTA Comparator, and SEM/3D non-contact Laser technology. The most common way to test the surface profile in the field is with Testex Replica Tape. The tape comes in various types where Course (38-64micron) and X-Course (38-115micron) are mostly used in the coating industry. The Replica Tape test complies with a.o.

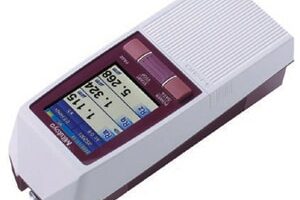
Portable Stylus Gauge (a.o. ASTM D4417, ASTM D7127, ISO 3279 and ISO 4287) is a method we do not see often in the field, due to the sensitivity of the equipment. This equipment is more for laboratory use, although steel manufacturers which do coat their equipment in shop are using this equipment frequently. With this method you do get more insight about the profile itself such as peak counts (Rpc), although it is still 2D.

The other described methods are not only used to determine the surface profile, but are also use to determine the surface cleanliness. The ISO Comparator and KTA Comparator (ASTM D4417-C, ISO 8503-2 and SSPC-PA17) are both used in the field and can only be used for Sa2½ and Sa3 prepared steel. Both are available in steel grit and steel for shot version. Practical disadvantage is that the cleanliness of the comparators itself will change over time. Particular when touched by hands and exposed to the elements. We will limit ourselves to the grit version as this is more in line with the MontiPower® profile as created by the Bristle Blaster® method.
SEGMENT 1:
23-28
MICRON
SEGMENT 2:
35-45
MICRON
SEGMENT 3:
60-80
MICRON
SEGMENT 4:
85-115
MICRON
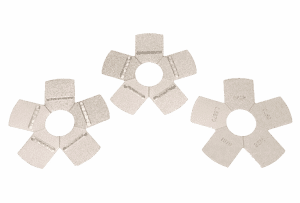
The method to use is to compare the prepared substrate with the segments on the comparator. Magnification up to max. 7X is allowed. Record all grades as:

Fine Grade: profiles equal to segment 1 and up to, but excluding, segment 2
Medium Grade: profiles equal to segment 2 and up to, but excluding, segment 3
Coarse Grade: profiles equal to segment 3 and up to, but excluding, segment 4
If any profile is assessed below the lower limit than the Fine Grade, the grade is
Finer than FINE
If any profile is assessed above the upper limit than the Coarse Grade, the grade is Coarser than Coarse.


This method is used to provide more exact data on the surface profile and cleanliness and is only for laboratory use and R&D purposes. Not only the surface profile and peak count (Rpc) can be investigated, but also the peak density (Rpd).
While a sufficient surface profile is important, the number of peaks (Rpc) per unit area is also a significant factor to improve long term coating performance. A high peak count characteristic of a surface profile will increase the undercutting corrosion resistance when a coating system will be damaged. Furthermore it provides a better adhesion of the coating system. The same is when having a higher peak density (Rpd).
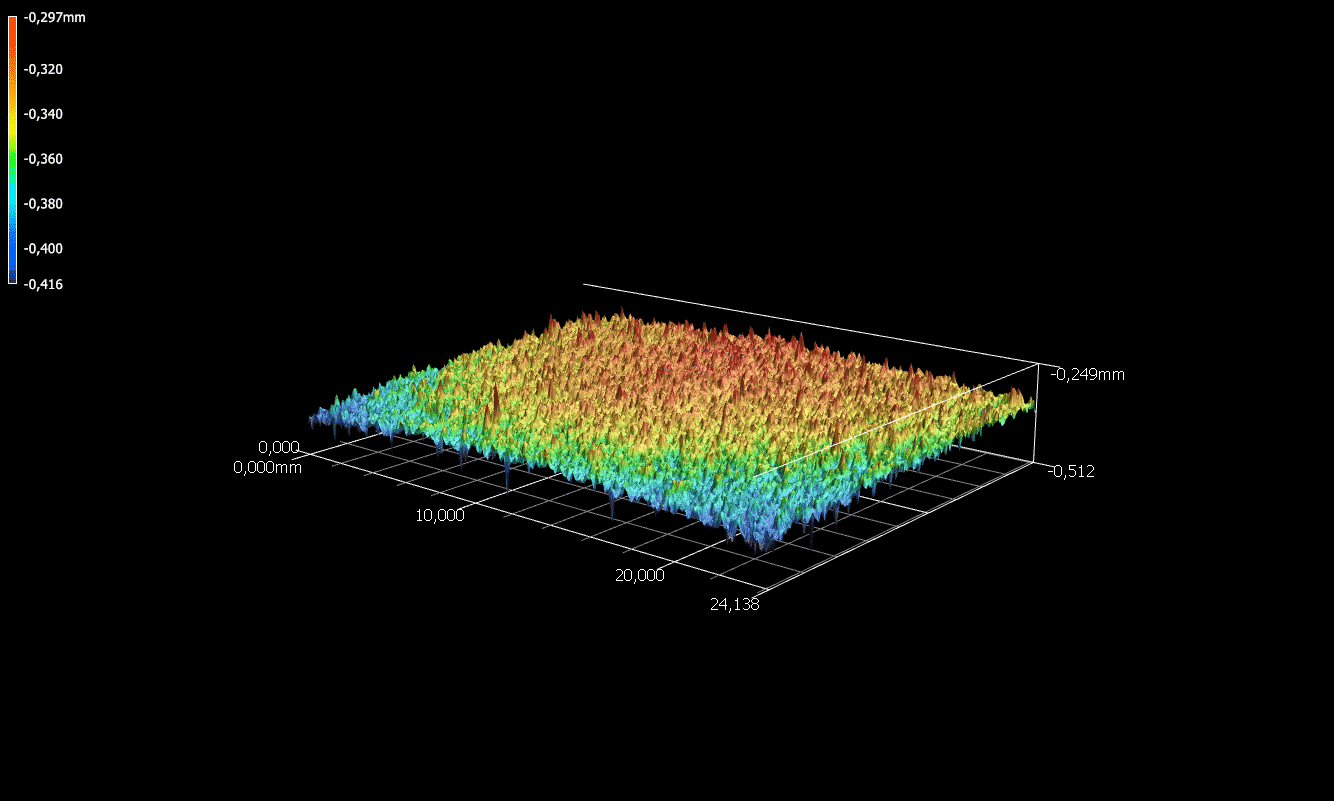
More peak counts and peak density provides a steeper profile. At the other hand, a too high peak counts and peak density will have a negative affect on coating performance, because there is a risk not wetting the substrate completely with coating. This creates voids on the substrate/coating system interface, which is not desirable for multiple reasons.
Further works must be done on this topic, but as a rule of thumb within the coating industry, the following parameters can be used as a rule of thumb to provide the best performance for a wide range of coatings:
SURFACE PROFILE:
50-75
MICRON (RZ)
PEAK DENSITY:
04-08
PEAKS/MM2
PEAK COUNT:
40-60
PEAKS/CM


